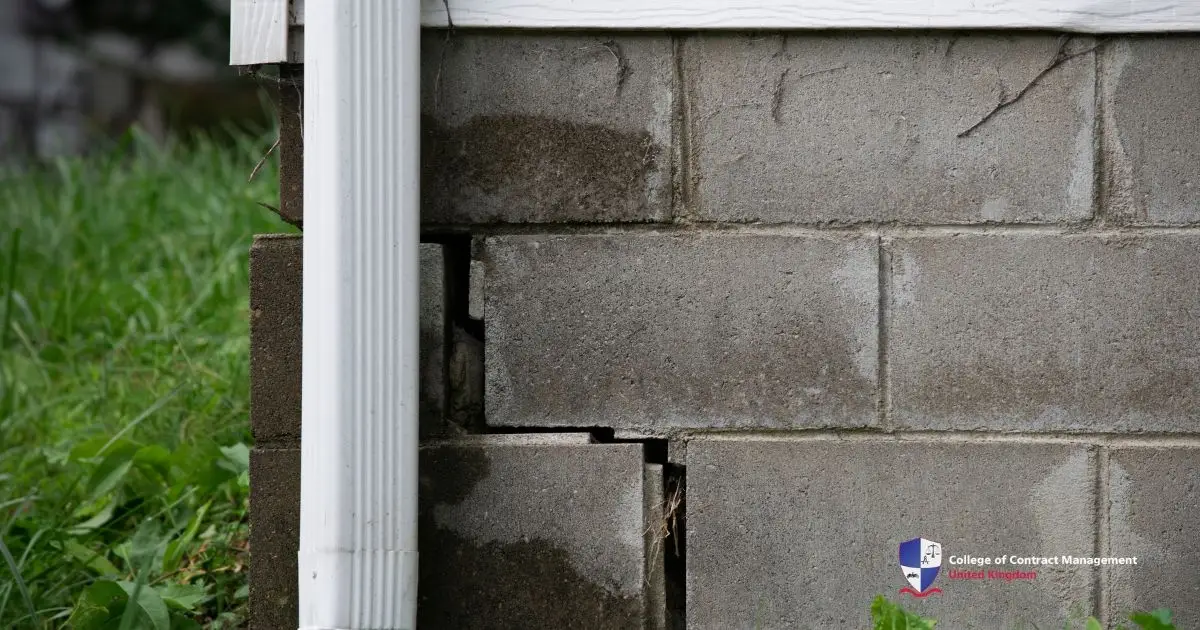


Not only do they look terrible, but holes in the wall can lead to more significant problems. Thus, you need to fix it with a wall filler right away before it gets worse. Fixing up walls can feel like a big job since it takes a lot of effort. Hence, a filler is the best solution to make your building smooth and beautiful again. This is an indispensable tool in any renovation and construction project. When holes or dents appear in a home’s walls, drywall compound is the ideal solution to restore their original appearance.
As time goes on, a building will reveal signs of wear and tear, such as scrapes and holes. After looking into repair tricks, people noticed that wall filler is a common remedy. Its claim of rapid bug fixes is enough to get anyone pumped up about a project. Picking the proper compound lays the groundwork for success. This article maps out clear steps to smooth out walls. It lets anyone handle repairs with confidence and score a polished look.
What is the wall filler?
Wall filler is a material with high plasticity and a similar texture to clay. It makes a protective base for paint application and acts as a filler for cracks. Putty shines when it comes to tackling wall problems. It smooths out cracks, holes, and dents without a hitch. A stubborn crack in a wall can vanish when you use it, leaving a clean surface. The final look grabs attention for all the right reasons. Whether lightweight or heavy-duty, a filler may fit different jobs in construction. Lightweight types handle small patches perfectly.
Spreading wall filler feels like a breeze. A putty knife glides over uneven surfaces with ease, and smoothing it out gently removes faults. You don't have to wait since this compound can dry quickly, which keeps the project going. After it has been set, it is ready for sanding and painting. Everyone is surprised at how it dissolves into the wall. This strategy makes it an excellent choice for beginners and DIY enthusiasts looking for high-quality repairs.
- Fixes all flaws: It patches cracks, holes, and dents easily.
- Easy to grab: Stores carry a filler at wallet-friendly prices; this won't cost a consumer a lot of money.
- Dries fast: A filler that sets quickly to keep things moving.
- Works anywhere: It sticks to drywall, plaster, and even wood.
Moreover, hardware stores stock affordable tubs that stretch far. A small container often covers plenty of fixes. The price stays friendly while delivering fantastic results. Skipping professional help saves even more money and unnecessary expenses. You can apply it by yourself by finding a tutorial from platforms such as YouTube or Google.
Picking the best wall filler for your job
With so many choices lined up, choosing a wall filler can be a huge decision. Stores stack products for drywall, plaster, and more. Lightweight filler nails make small repairs, while tougher ones take on bigger damage. Matching the filler to the task makes all the difference. You may dodge mix-ups by scanning labels before snagging the putty for your projects.
Ease of use plays a significant role in picking a wall padding. Ready-mixed tubs cut out extra steps. Mixing powders might trip up beginners. A smooth and well-mixed compound will make sure you get a perfect outcome. Buyers can start by seeking online reviews by visiting construction sites and pointing to trusted brands. This step helps first-timers feel at ease, which may lead to smoother repairs without the stress.
- Know your surface: Buy a filler for drywall, plaster, or wood.
- Scope out reviews: Try to give feedback flags to the best brands.
- Plan the amount: Get enough to wrap the job.
- Check dry time: Fast-drying filler may speed things up.
The size of the job shapes your purchase decisions. Tiny fixes need a small tub, while bigger projects might demand more to avoid running dry. However, trying times might differ because some fillers harden faster. Thus, you should plan smart by figuring out how much drywall joint compound fits your walls and checking product specs.
Step-by-step tips for applying wall filler right
Starting a wall filler project means you need to get ready first. Firstly, round up a putty knife, sandpaper, and a clean rag. Wiping the wall clears away dust and grime for a solid stick. Make sure you remove all loose building materials with the edge of a scraper or a fine brush. A clean surface allows the drywall mud to be applied. This prep paves the way for a smooth ride.
Next, carefully scoop a well-mixed wall filler onto a putty knife. Then, slowly press it into cracks or holes, smoothing it out. The stuff feels soft and easy to shape. Fill each spot evenly, keeping an eye on neatness. It may dry fast, so you have to stick to small patches at a time. By doing the steps right, you may keep the work tidy. Start with small sections first to get the hang of the compound.
- Make sure to clean it up first: Spotless walls help the filler stick better.
- Be careful when applying it: Spread it in little bits for control since it's easy to dry.
- Sand easy: Apply another thin layer on top of the crack and leave it to dry.
- Paint the wall after that: Paint over it with your favourite paint for a clean look.
When it’s dry, you may start to sand the wall filler gently. The surface turns silky, ready for paint. Fine sandpaper skips scratches for a crisp finish. A quick wipe clears dust, setting up the next step. Painting over the wall padding hides every fix perfectly. It nails a sleek look by sticking to these clear steps.
Mistakes to skip when using wall filler
As you may already know, doing something takes some practise to get right. Piling on too much makes lumps that need scraping. Thin layers keep things even and save hassle. Spreading wall filler carefully pays off in the long run. It can cut out extra work using small dabs and adding more if needed for a smooth finish. Forgetting to sand trips up many. However, unsanded filler leaves bumps that show through the paint. Sanding locks in a seamless surface. Letting the wall dry completely is the key to getting the best outcome.
Waiting a bit brings better results. You should give the wall padding time to set for the best outcome. But buying the wrong brands can cause trouble. Heavy-duty kinds can crack on tiny patches. Picking the right one for the job avoids these issues. Keeping tools clean prevents dried filler from gumming things up.
Painting over the wall filler for a clean finish
Wall filler sets up walls nicely, but the paint makes it perfect. A primer goes on first to help the paint grab hold. It will coat the filler profoundly, making a steady base. However, painting over filler on internal walls is something you need to do on pretty much every job. If you just cover everything with neat emulsion, then it may bubble and flake over time. Thus, a perfect paint is needed.
Painting needs steady hands for even coats. A roller lays down two thin layers, drying between each. After the process is done, the filler will be away with paint to hide every mark. Matching the wall’s colour blends fixes it in tight. Testing shades first skips any problems you may face when fixing it up.
Lighting in your home changes how things look. Glossy paint might show wall filler edges in some spots. Matte types are better for a clean look. Furthermore, it plays nice with most paints, but testing seals the deal. The result is a fresh wall that pops. You can choose anything, applying a style with steady painting steps.
Final Thoughts
Wall filler turns rough walls into sleek surfaces. From cracks to clean finishes, it helps you fix the problems in your wall. With a filler, you just need to make sure to overfill the surface of the patch enough that it fades to the surface of the wall. There will always be a slight mound on top of it when compared with the rest of the surface. However, you can minimise it visually with good and even filling as the patch is placed on top of the wall there.
If you’re looking to build a rewarding career in construction, the College of Contract Management is your answer to success. They provide trusted courses that not only help to grow a career but also personal development, especially in the construction field. Just like finding the right angle, the college makes sure that you achieve your goal precisely. So, what are you waiting for? Start to set your path to a great career with the CCM!