
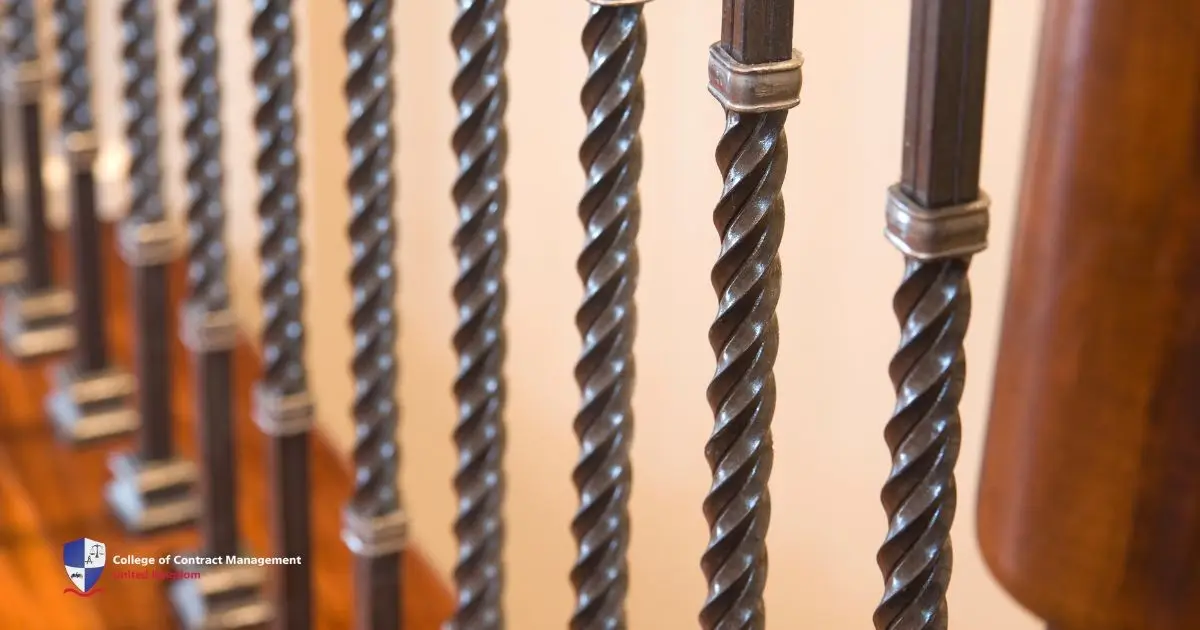
Metal spindles are a key component for any staircase. Not only to make our stairs look finished and more aesthetically pleasing, it is also a key important aspect. It can look daunting to install this by yourself. However, with the right tools and a few hours of work, you can install them easily. Thus saving a lot of time, money and hassle of hiring someone else to complete this project for you.
You can find a lot of pre-built or assembled metal spindles, which will make your life so much easier. In this post, we discuss everything you need to know about stair railing installations. We will explain to you in detail each step and what you need to complete this project safely and correctly with amazing results.
How many metal spindles do I need?
The amount you need depends on how long your stairs are, but the general rule is two spindles per step (or tread). However, this is largely dependant on the width of each step. For best results, you can use this metal spindle calculator to figure out exactly how many spindles you’ll need.
Metal spindles will generally be much thinner than wooden spindles, as they are extremely strong and durable. It allows for a smaller size. While you can use the calculator above to work out how many black spindles you need, you can also work it out yourself by using this calculation:
-
(Going of flight & landing) ÷ 105 for a black metal spindle.
Tools & products required
Before installing the metal spindles. You have to make sure that you have all the necessary tools and materials ready for the job. Proper preparation, including appropriate safety gear, will make sure that your installation is safe. All of this is in order to reduce accidents and bad application, ensuring the final result is what you imagine it to be.
Therefore, avoid starting before you have all the tools and materials needed to ensure that you don't run to the store in the middle of the project. Hence, it would be a hassle to be running back and forth to the store and stopping the project. Finally, here are all the materials and tools you need for:
Tools required
- Drop Cloth
- Reciprocating Saw (or Jigsaw)
- Pliers
- Drill & Drill Bit
- Tape Measure
- Portaband Saw (or chop saw)
Products required
- Balusters
- Shoes (if you are using them)
- Epoxy (non-drip, clear dry)
- Epoxy Gun
In the end, having proper preparation ensures a smooth installation process. Having the tools and products listed above will minimise risk and streamline the process. This ensures secure professional work for your spindle. Prioritise safety and precision to achieve durable, visually consistent results. An unsafe job will lead to a disaster, even if it visually looks okay.
Step 1: decide on your design & gather your materials
Before you start installing your metal spindles, you need to decide on the type that will suit your needs and style. For example, the design style (modern, traditional), material (wood, metal), and compliance with local building codes. While these guides will mostly focus on metal and indoor spindles, make sure that your choice aligns with your staircase’s structure and safety requirements. Consider factors like height, grip comfort, and aesthetic harmony with your home’s interior before finalising your decision.
After making your choice for your metal spindles you need to do your checklist which Verify measurements match your staircase’s dimensions, and organise your workspace for efficiency. Review manufacturer guidelines for hardware specifics or assembly tips. This will help you to have a smooth process. Try to do things at your own pace and not rush anything to ensure the best result.
Step 2: Take Measurements
It is crucial to get the correct measurements for your grab rail before installing anything, especially the metal spindles. The simplest way to collect this measurement is to ask a friend to stand at the bottom of the staircase with one end of the measuring tape. With the other end in your hand, walk to the top of the staircase.
Make sure to keep the tape 3 feet off the ground. The spot where you positioned the ends of the tape is where your railing should begin and end. All of this must be done slowly and carefully, and in detail to make sure that you are getting the correct measurements.
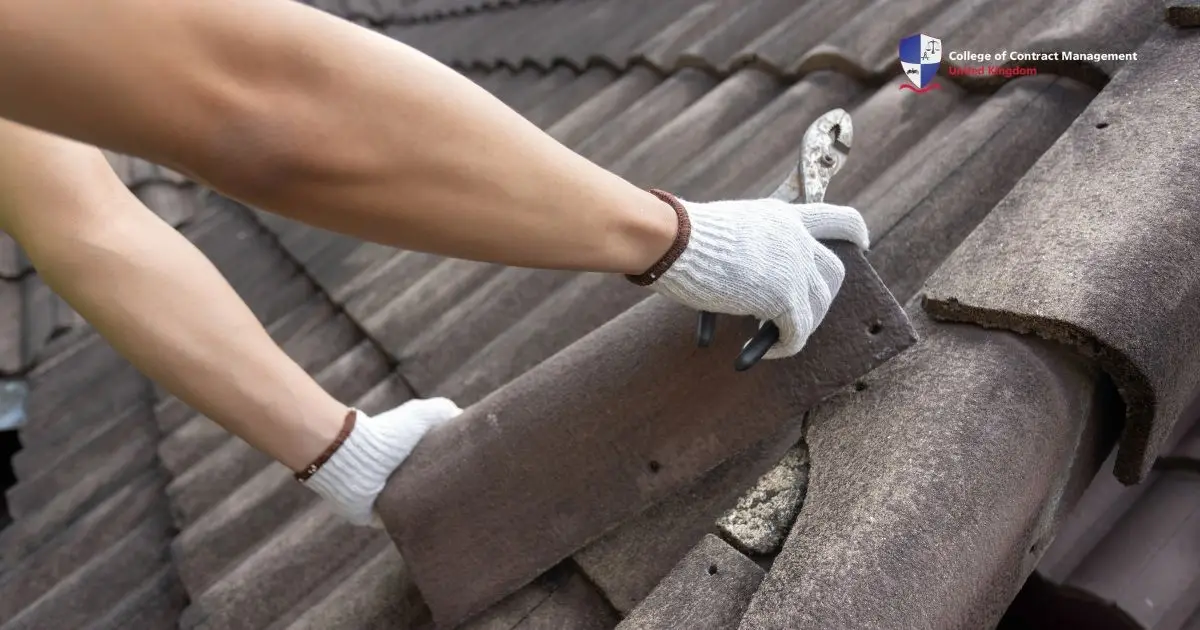
Step 3: Clean & attach fittings, brackets and metal spindles
Starts with cleaning through the installation surfaces to remove dust, debris or grease on the floor and such. To give a secure bond for anchors and brackets. You can use a pencil, a measuring tape to mark precise positions for the base flange and wall brackets for your metal spindles. Start by drilling pilot holes for anchors, then attach the base to the floor and wall brackets to ensure everything is level.
Next, secure the uprights to the base using screws or bolts. While making sure they stand perfectly vertical. Furthermore, you can continue attaching the wall metal spindles to the brackets. Tightening connections firmly but avoiding over-torquing. Be sure to double-check everything for stability and alignment, adjusting as needed. This is to ensure that the base and such can hold the weight.
Finally, you can install the rest of the spindles according to your chosen style. For slip-fit designs, insert the railing into the bracket’s pre-drilled hole and tighten the set screw with a hex key. For screw-mounted rails, align pre-drilled holes in the spindles with the brackets and fasten securely. Test the railing’s stability, making small adjustments for a beautiful finish.
Step 4: Install pipe caps & finishing
After installing the metal spindles, the tops of them would still be exposed. You need to install protective pipe caps. These would prevent sharp edges from causing injury and give the spindles a polished look. Start by aligning each cap carefully, then gently tap it into place using a rubber mallet to avoid damaging this finish. Ensure caps fit snugly; if loose, add adhesive or replace them for a secure fit, which will give a more long-term hold.
Once caps are installed, inspect every connection. Tight screw, bolts or set screws with a driver, wrench or hex key depending on your hardware. Confirms the brackets, metal spindles are upright and firmly anchored without over-tightening. Check for wobble by applying light pressure to adjust components as needed to eliminate and ensure safety.
Complete final safety checks, verify rail alignment, and test stability by using it carefully. Ensure no tools or debris remain. Wipe down the railing to remove dust and to give it a polished look. At this point, your metal spindle should be safe and functional. For added safety you can check the screw and caps once in a while. You can enjoy your hard work.
Conclusion
By following these steps, design planning, and precise measuring, you can secure the fitting of brackets and spindles. With that in mind, you can carefully finish with pipe caps. Finally, you can confidently install metal spindles on your staircase. Proper safety checks and maintenance ensure lasting stability. With the right tools, materials, and patience, you’ll achieve a professional, polished look that enhances both the function and beauty of your home.
If you’re interested in construction, the College of Contract Management can help you gain more knowledge. The College offers you so many relevant resources to make you stand out more than others. Moreover, they provide online courses if you want to have a career in a similar field. So, why wait any longer? Explore the College’s site now!