
Most homeowners understand that leaky walls and floors in their basements can be small issues that can lead to big problems. It may seem simple, but if left untouched can often cost you quite a bit of money in the long run. Water can damage possessions and create a health hazard, but it can also lead to structural problems with the home.
Waterproofing your walls and floors is one of the best ways to prevent leaks and callbacks. While you can call or hire a professional to waterproof it for you, it would lead to a lot more cost. If you don't have much money to spend on this project, it is best to DIY it to save on cost and still get good results.
Many methods can be used for this, one popular method is to apply a waterproof coating to the walls. It would create a barrier that prevents water from seeping in. This article will discuss the steps to follow when applying a waterproofer to basement walls to ensure you are happy with the end result.
Should you waterproof your basement yourself?
Waterproofing your basement walls and floors helps stop water from coming into the foundation and destroying the strength of your entire home. Small leaks can lead to bigger issues over time. That is why it is imperative for you to prevent it beforehand. Thus reducing the risk of damage.
If that doesn’t work, or if you discover more significant issues, it may be time to call a professional waterproofing contractor. It will be able to help you get the bigger picture of the issue. A small investment in waterproofing of your walls and floors now can save you from costly repairs and protect the overall value of your home.
Causes of leaks in your walls and floors
There are a lot of causes that would lead to leaks in your basement walls and floors. It often happens because groundwater builds up and pushes against the wall and floor of the basement. It is called hydrostatic pressure. Over time, the pressure pushes the water to seep through small gaps in the walls.
Another cause that can lead to leaks is the poor grading around the house. If the ground leans towards the foundation, rainwater will flow back to the basement instead of away. Clogged gutters and downspouts can overflow and splash water near the base. Also, ageing or broken water pipes in or near the basement walls and floors can leak and add to moisture problems. Now let's explain in detail what are the causes of leaks in your basement.
Hydrostatic Pressure
As explained above, this happens when water accumulates around the foundation. Hydrostatic pressure builds up and causes the basement to leak. The water pushes its way through any joints or cracks, or pores in the concrete. This causes water to come in through the walls and floors. New construction down the street may shift groundwater flows and cause basement leaks in your home.
Settling Cracks
When the house finally settles on the foundation and ground, it will slowly develop stress cracks on its concrete foundation. These cracks are one of the reasons that water will seep into your basement. Exterior waterproofing disintegrates or separates due to the “alkali attack.” When water migrates toward embedded steel, it rusts, expands, and cracks the concrete.
Efflorescence is the sign of water leaks
When water seeps into the pores in concrete or from the previous waterproofing, it dissolves alkalis and makes those pores bigger. As the concrete ages, it becomes more and more porous. Therefore, usually at the start, the seeping water evaporates, leaving on the surface salts and lime. This “white deposit” or efflorescence on your walls and floors is a telltale sign of capillary water seepage.
How to waterproof basement walls and floors
Waterproofing basement walls and floors is such a crucial step to ensure that you do not have any more damage to your basement. Making an effective waterproofing plan often begins with sealing cracks and gaps. This is done using a type of sealant that will penetrate deep into the basement to block water pathways.
Finally, on the exterior, excavate the footing, clean the walls. Next, you can apply a complete waterproof membrane and drainage board to divert groundwater away from the foundation. In this section, we are going to delve more deeply into each step to ensure that you get everything correctly and get a beautiful result.
First Step
Before doing anything, it is critical to remove all standing water before starting to waterproof your walls and floors of your basement. After the area is completely dry, you may begin to find out how bad the leak is and what the best action for you to take is. Any water left standing can hide the leak sources coming from the floor, not the wall, and will need a different solution to fix the issue.
Second Step
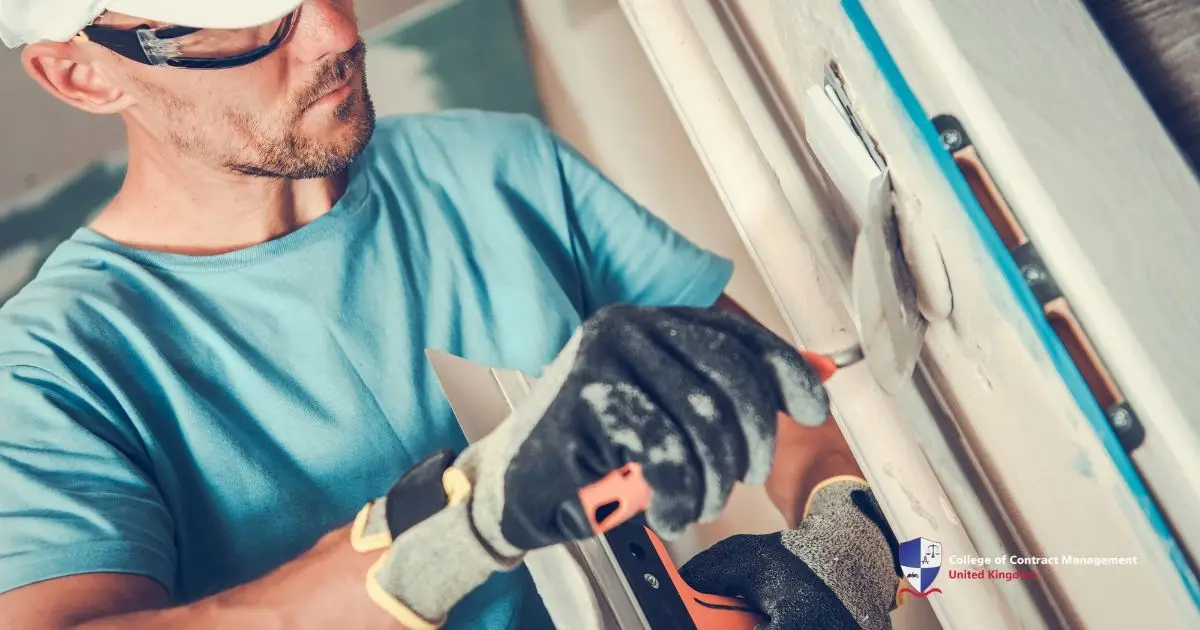
Secondly, you need to clean and dry any surface. This is to make sure it's grease-free to give the best results. Be sure to check for mould and efflorescence. Thus, you need to remove them if you find any surface that still has them. Mould and any leftover efflorescence will create a patchy waterproof layer. Hence, leaks will still happen due to this. When removing dust, grime and any loose or broken masonry with a wire brush. It is key that it is completely gone to ensure clean walls and floors.
Third Step
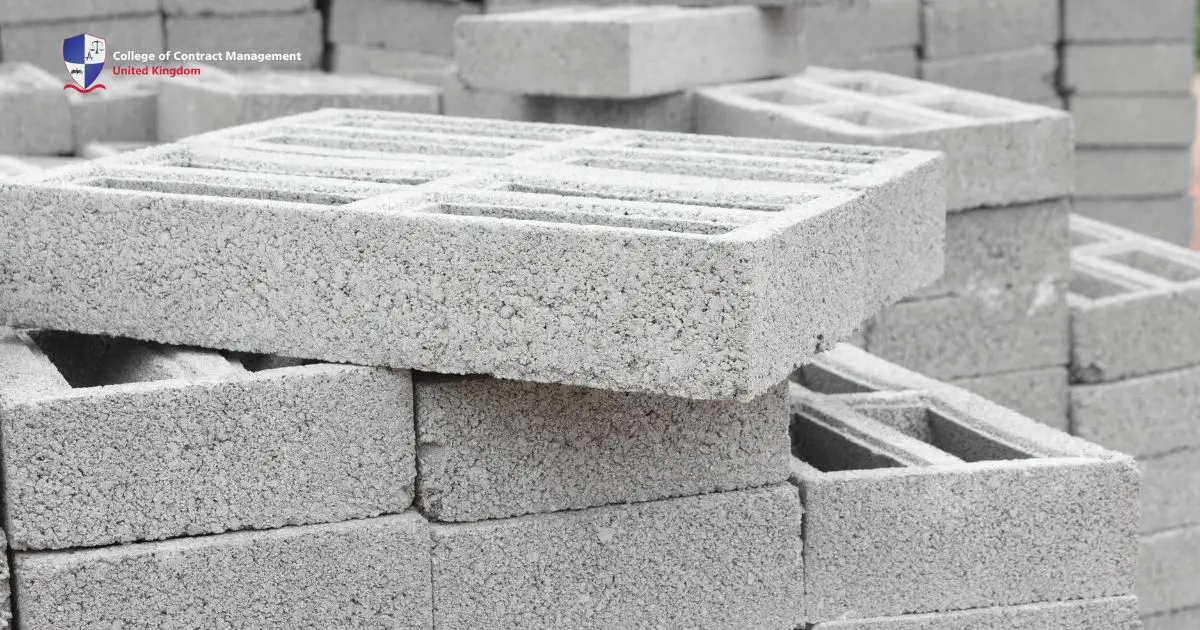
Once the area is clean and dry, you can finally see the cracks and holes. There, you can start plugging any holes and cracks in the walls and floors you see. It's best to use hydraulic cement. This is going to prevent any water from entering the basement by creating a waterproof seal. Those small cracks can be addressed with any crack filler that is waterproof.
Fourth Step
Fourthly, you need to reseal windows, doors and window wells in your basement with caulk to ensure full coverage of waterproofing. With any waterproofing project, it is quite good to do an overall perimeter check on the area surrounding the basement. Window wells are a common entry point for water, which is key for you to seal properly. Use silicone caulk or expanding foam which also windows and doors, which can also be sealed with caulk to prevent water from coming in.
Final step
Finally, after you have done everything above. You need to do a final waterproofing coating on your basement walls and floors using any waterproof paint or coating. This is done on the last step, as this will be the final protection for your walls and floor against any leaks and water. Here are some instructions for you to ensure that your results are the best:
- Purchase enough paint or coats to completely cover your entire basement. For your comparison, each gallon covers 75 – 100 square feet. You will need a minimum of two coats.
- Make sure that the temperature is at least 10 degrees Celsius.
- Stir thoroughly and do not dilute the solution.
- Apply the first coat with a ¾ inch nap roller or a good nylon bristle brush.
- Allow two to three hours to dry before applying the second coat.
- After the walls are dry, inspect for pinholes and give these areas an additional coat to give them more secure walls and floors.
Conclusion
Water leaks are the early sign of bigger damage happening; therefore, waterproofing your basement is such an important step to prevent those bigger issues. However, doing this on your own is quite scary without any professional help. That is why, by following these steps, you can get a professional-level result on your own.
The steps are clearing water, cleaning surfaces, patching cracks, sealing windows, and applying a waterproof coating. All of this step is done to give effective protection against leaks, which can lead to long-term damage. Doing proper prep work and quality material can create a durable, secure barrier that will extend your home's strengths.
If you are someone who wants to master how to construct and expand your career in construction, then you should consider joining the College of Contract Management. They specifically specialise in providing high-quality and flexible online training courses in fields such as construction and project management. When you are prepared to initiate a brighter future and begin this new educational journey alongside us, the moment to enrol with the CCM is now. Take the initial step towards crafting your future with top-notch and current learning materials.